
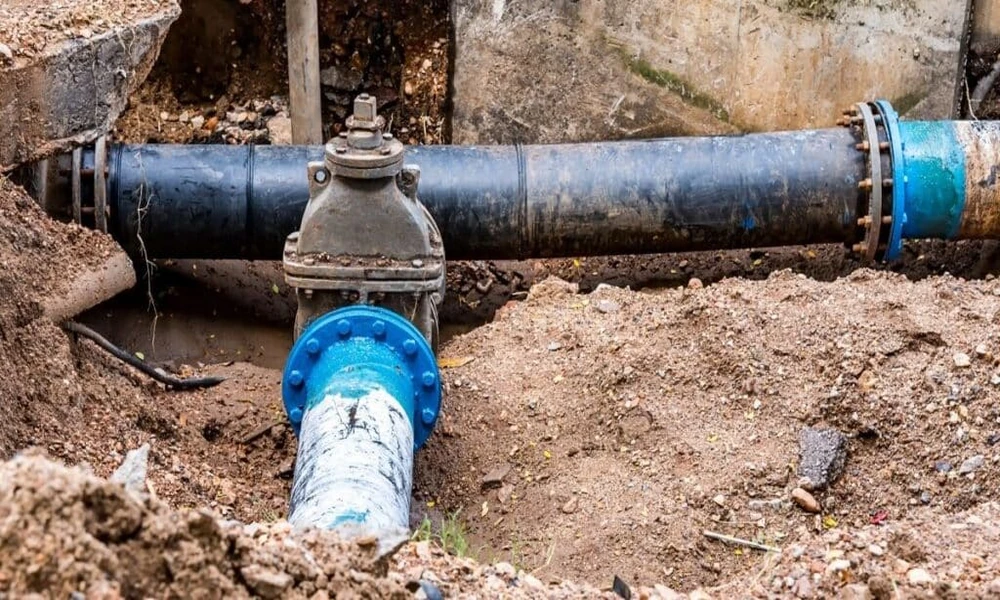
Introduction
Homeowners researching jetting main line replacement in Maryland usually want answers to two questions: can the pipe be cleaned, or does it need to be replaced, and what actually happens once the work begins? The jetting main line replacement in Maryland process is more organized than most people expect, and knowing the steps in advance makes it far less stressful. Here is a clear walkthrough from the first camera inspection to the final cleanup.
Step 1: Start With a Camera Inspection
Why You Cannot Skip It
The main line, the pipe that carries wastewater out of your home, is buried and invisible. A slow drain or a backup tells you something is wrong, but not what. A sewer camera inspection sends a small waterproof camera through the pipe so the plumber can see the actual condition, record it, and show you.
What the Camera Can Find
- Grease buildup and hardened debris
- Tree roots growing into joints or cracks
- Cracked, broken, or collapsed sections of pipe
- Bellies or sags where water collects instead of draining
- Corrosion or misaligned joints
Step 2: Decide Between Jetting, Repair, or Replacement
When Hydrojetting Is the Right Answer
Hydrojetting uses high-pressure water to scour the inside of the pipe. It is typically used for grease, sludge, roots, and general buildup in a pipe that is otherwise structurally sound. Because it cleans the full pipe wall rather than punching a hole through the clog, it can restore full flow.
When Repair or Replacement Is Needed
Jetting cannot fix a pipe that is broken. If the camera shows a collapse, a severe crack, or a pipe that has settled out of alignment, cleaning only provides temporary relief. The usual options are:
- Spot repair for one damaged section
- Trenchless replacement or lining when the pipe path allows it
- Open trench replacement when the pipe is badly damaged or cannot be reached any other way
A good plumber will show you the footage and explain why one option fits better than another, and give you a written estimate before work begins.
Step 3: Utility Marking and the Digging Rules
Why This Step Matters
If the project requires excavation, underground utilities have to be located first. In Maryland, this runs through Miss Utility, the state’s one-call notification center, reachable by dialing 811.
What the Rules Say
According to Miss Utility’s homeowner guidance, a few details are worth knowing:
- Contacting Miss Utility is free.
- In Maryland, the request is made no sooner than 3 business days and no later than 12 business days before planned excavation.
- If a contractor is doing the work, the contractor must have a ticket in the company’s name. They cannot dig using a homeowner’s ticket.
- Mechanized equipment cannot be used within 18 inches of the marked lines in Maryland, so crews hand dig near them.
The Part Most Homeowners Miss
Miss Utility’s member utilities do not mark privately owned lines. The organization specifically lists water and sewer pipes from the meter to your home among them. That means the line you are repairing may not be marked by the utility, so a private locating service may be needed to identify its exact path. Ask your plumber how they handle this.
Step 4: The Day of the Work
If the Plan Is Hydrojetting
- The plumber accesses the line through a cleanout or other entry point.
- A jetting hose with a specialized nozzle is fed into the pipe.
- High-pressure water breaks up debris and flushes it downstream.
- The camera goes back in to confirm the pipe is clear and to check the condition of the walls.
This is often completed in a single visit.
If the Plan Is Replacement
- The crew marks the work area and protects landscaping and hard surfaces where possible.
- They open the ground at access points or along the line, depending on the method.
- The old pipe is removed or lined, and new pipe is installed at the correct slope so water flows properly.
- Connections are made at the house and at the street or septic system.
- A test and a final camera inspection verify the work.
Step 5: Testing, Inspection, and Cleanup
Confirming the Job Is Done Right
A quality project does not end when the pipe is in the ground. Ask for a final camera run or flow test and keep the footage or report for your records. This also helps if you sell the home later.
Restoration
Trenches need to be backfilled and compacted properly. Surfaces such as lawns, driveways, and walkways should be restored according to what was agreed in the estimate, so clarify this before work starts.
How to Prepare Your Home
Before the Crew Arrives
- Locate your cleanout and clear access to it.
- Move vehicles, patio furniture, and anything else near the work area.
- Plan for limited water use during the job, since drains may be unavailable for a period.
- Secure pets and let neighbors know if heavy equipment will be on the street.
- Identify irrigation lines, invisible fences, and other private underground features and tell the crew about them.
Questions to Ask Before You Hire
Smart Questions for Any Contractor
- Can I see the camera footage and a written explanation of the problem?
- Is jetting enough, or is replacement truly necessary?
- Who handles the Miss Utility ticket and any permits?
- How will private lines be located?
- What is covered by the warranty, and for how long?
- What restoration is included in the price?
Keeping Your New or Cleaned Line Healthy
Everyday Habits That Protect It
- Flush only toilet paper and human waste.
- Keep grease and food scraps out of the drain.
- Plant trees well away from the sewer path.
- Schedule periodic camera inspections for older homes or properties with large trees nearby.
Conclusion
A main line project is much easier to handle when you know what is coming. Start with a camera inspection, let the footage decide between jetting and replacement, make sure underground utilities are properly located, and insist on a final check before the crew leaves. Do that, and you protect both your plumbing and your property.

Comments are closed.