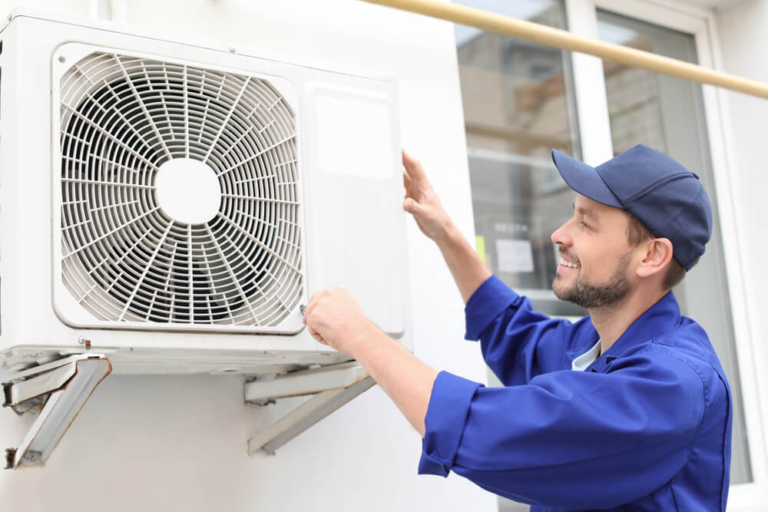
Air conditioning installation is a significant investment that enhances comfort and energy efficiency in your home. Proper preparation before the installation can ensure a smoother process and optimal performance of your new AC system. This article provides a comprehensive checklist to help you get ready for your air conditioning installation, ensuring everything is in place for a seamless transition.
1. Evaluate Your Home’s Cooling Needs
Before scheduling your AC installation, assess your home’s cooling requirements. Consider the following factors:
- Size of the Home: Larger homes may need a more powerful system or multiple units.
- Insulation Quality: Well-insulated homes may require a less powerful system.
- Window Efficiency: Homes with high-quality, energy-efficient windows might need less cooling power.
Consult with a professional HVAC contractor to determine the appropriate size and type of air conditioning system for your home. This step ensures that the ac system installation will meet your cooling needs efficiently.
2. Choose the Right AC System
Selecting the right air conditioning system is crucial for optimal performance and energy efficiency. Consider these options:
- Central AC Systems: Ideal for cooling entire homes, these systems require ductwork.
- Ductless Mini-Split Systems: Suitable for homes without existing ductwork, providing zoned cooling.
- Window Units: A more affordable option for single rooms but less efficient for whole-house cooling.
Your choice will affect the installation process, so ensure that you select a system that aligns with your home’s layout and cooling needs.
3. Clear the Installation Area
Prepare the installation area to facilitate a smooth installation process:
- Interior Space: Clear the area around the location where the indoor unit will be installed. Remove furniture, decorations, and other obstacles.
- Exterior Space: Ensure that the outdoor unit’s installation site is free from debris and obstructions. This area should have adequate space for airflow and maintenance.
A clutter-free installation area allows the technicians to work efficiently and ensures that the AC system operates effectively.
4. Check Electrical Requirements
Air conditioning systems require a dedicated electrical circuit to function safely and efficiently. Verify the following:
- Electrical Panel: Ensure that your home’s electrical panel can handle the additional load of the new AC system. You may need an upgrade if the panel is outdated or overloaded.
- Electrical Wiring: Check that the wiring is up to code and in good condition. An electrician can help assess and update your home’s electrical system if necessary.
Proper electrical preparation prevents potential issues during installation and ensures safe operation of the AC system.
5. Ensure Proper Ventilation
Good ventilation is essential for efficient AC system performance. Address these aspects:
- Ductwork Inspection: If you are installing a central AC system, have your ductwork inspected for leaks or damage. Properly sealed ducts improve efficiency and indoor air quality.
- Vent Placement: Ensure that vents and registers are unobstructed and positioned to allow even distribution of cool air.
Proper ventilation helps the AC system perform efficiently and enhances overall comfort in your home.
6. Schedule a Professional Installation
Air conditioning installation should be performed by a licensed HVAC professional. Consider the following when scheduling your installation:
- Timing: Schedule the installation during a time when you can be present to oversee the process and address any questions.
- Contractor: Choose a reputable contractor with experience in ac installation. Verify their credentials and read customer reviews to ensure quality workmanship.
A professional installation guarantees that your AC system is set up correctly and operates efficiently.
7. Review Manufacturer’s Instructions
Before the installation, familiarize yourself with the manufacturer’s instructions for your new AC system. This includes:
- Warranty Information: Understand the terms and conditions of your system’s warranty, including coverage and maintenance requirements.
- Operating Instructions: Learn about the system’s features and how to operate it effectively.
Understanding the manufacturer’s guidelines helps you maintain your AC system properly and ensures that you make the most of your investment.
8. Prepare for the Installation Day
On the day of installation, be ready for the following:
- Access: Provide the installers with clear access to both the indoor and outdoor installation areas.
- Questions: Prepare any questions you have about the installation process or the new AC system. This is a good time to discuss any concerns with the installers.
Being well-prepared on installation day ensures a smooth process and allows you to start enjoying the benefits of your new air conditioning system sooner.
Conclusion
Preparing your home for air conditioning installation involves several crucial steps, from evaluating your cooling needs to ensuring proper ventilation and scheduling a professional installation. By following this pre-installation checklist, you can help ensure that your AC system is installed efficiently and performs optimally, providing you with enhanced comfort and energy savings for years to come.


Comments are closed.