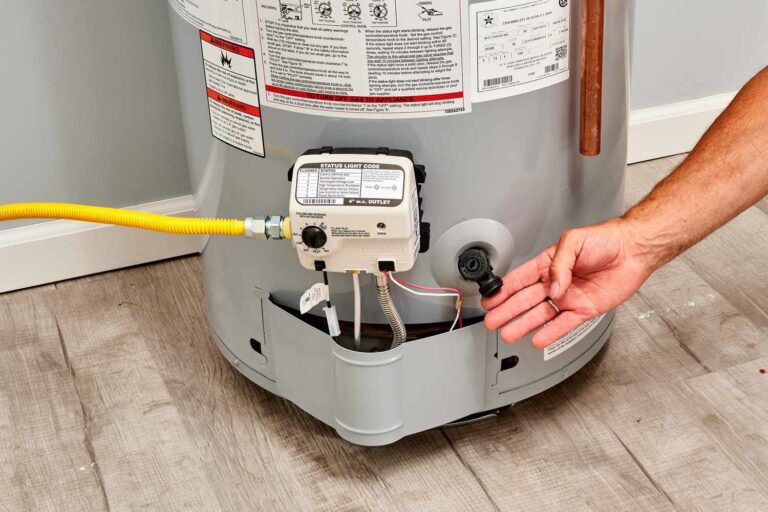
Dealing with a leaking water heater can be a frustrating experience for homeowners. Not only can it lead to water damage, but it can also disrupt daily activities that rely on hot water. Fortunately, with a bit of knowledge and the right approach, you can tackle this issue efficiently.
This post aims to guide you through the process of repairing a leaking water heater, empowering you to take matters into your own hands or better understand the process if you decide to seek professional help.
1. Diagnosing the Source of the Leak
When it comes to fixing a leaking water heater, the first step is to identify the source of the problem. Leaks can occur from various points, such as the drain valve, temperature and pressure relief valve, or even the tank itself. Inspecting each component and determining the exact location of the leak will help you determine the necessary repairs.
2. Turning Off the Power and Water Supply
Before attempting any repairs, it’s crucial to ensure your safety. Start by turning off the power supply to the water heater at the circuit breaker panel. Then, shut off the cold water supply valve leading to the tank. This will prevent further leakage and potential accidents during the repair process.
3. Repairing Common Leaks
Depending on the source of the leak, there are specific repair techniques to employ. For example, if the drain valve is faulty, you may need to tighten or replace it. If the temperature and pressure relief valve is the culprit, it might be a matter of replacing the valve entirely. In some cases, a leaky tank may require professional assistance, as it might indicate a more significant issue that demands specialized expertise.
4. Preventing Future Leaks
Once you’ve successfully repaired the leak, it’s essential to take preventive measures to avoid future problems. Regular maintenance, such as flushing the tank and checking for signs of corrosion or wear, can help extend the lifespan of your water heater and prevent leaks from occurring in the first place.
5. Replacing Faulty Components
In some cases, repairing a leaking water heater may involve replacing faulty components. Once you have identified the specific part causing the leak, such as a defective valve or a corroded pipe, it’s crucial to acquire the appropriate replacement part. Consult your water heater’s manual or contact the manufacturer to ensure you purchase the correct component. Follow the manufacturer’s instructions or seek professional guidance to safely remove the old component and install the new one.
6. Testing for Leaks
After completing the repair or component replacement, it’s important to test your water heater for any lingering leaks. Turn on the cold water supply valve and carefully inspect the repaired area. Allow the water heater to fill up and reach its operating temperature. Monitor the area for any signs of leakage, such as dripping or pooling water. If you notice any leaks, double-check the connections or consider seeking professional assistance to address the issue effectively.
Repairing a leaking water heater doesn’t have to be an overwhelming task. By following the steps outlined above, you can confidently address the issue and restore the functionality of your water heater. However, it’s important to remember that some repairs may require professional assistance. If you’re unsure about the extent of the damage or lack the necessary expertise, it’s always best to consult a licensed plumber to avoid potential risks.
Publisher’s Details:
Plumbing Squad
(866) 442-1897
plumbingsquad.com
info@plumbingsquad.com
Plumbing Squad offers quality plumber services in South Whittier, CA for both residential and commercial clients, including fixing leaky faucets, clearing clogged drains, and installing new piping systems. Also read, “Tips to Prevent Water Damage from Water Leaks” to learn about preventing water damage caused by leaks and taking appropriate measures.


Comments are closed.